This tutorial was written by me on November 9, 2012. Any resemblance to
any other tutorial is pure coincidence.
Please DO NOT claim this tutorial as your own or post it to any other
blog or website without permission from me. It was written for PSP X,
but should be compatible with any version of PSP. I wrote it assuming
that you have a working knowledge of PSP and it's components.
Scrapkit of choice. I used a PTU kit by Sleek n Sassy Designz Called AnExquisiteChristmas
purchased here You can visit her blog here
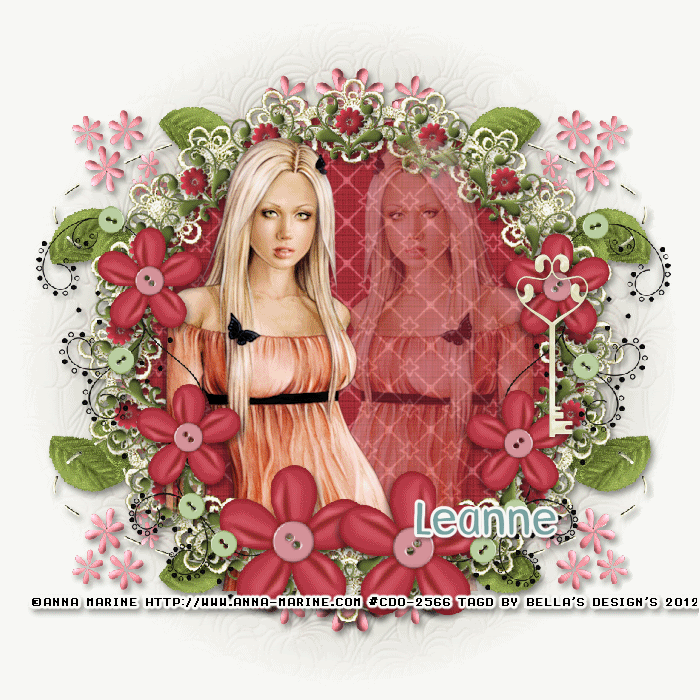
I'm using the amazing artwork of Anna Marine You can purchase a license for this tube at CDO
Plug-ins used:
EyeCandy4000- gradient glow
Tramages – Tow the Line
Alien Skin Eye Candy 5 – Nature – Snow Drift
A winter background, I used a freebie by Cajoline Scrap
1.Open up your Frame_3 copy and paste as new layer resize 70% Take your magic wand click inside modify expand by 10, Open up your
CAJ.SCR.FR. FOND HIVER 8 Apply drop shadow H-3, V-3, O50, B10, colour #000000, Apply again but change -3 to +3
2.Open up your Garland copy and paste as new layer resize 70% Duplicates Image Mirror merge down Apply drop shadow H-3, V-3, O50, B10, colour #000000, Apply again but change -3 to +3
3.Open up your Garland copy and paste as new layer resize 60% Image Free Rotate Direction Left Degrees 90, Duplicates Image Flip,
merge down Apply drop shadow H-3, V-3, O50, B10, colour #000000, Apply again but change -3 to +3
4.Open up your Decoration_3 copy and paste as new layer resize 60%,Apply drop shadow H-3, V-3, O50, B10, colour #000000, Apply again but change -3 to +3
5.Open up your Decoration_2 copy and paste as new layer resize 60%,Apply drop shadow H-3, V-3, O50, B10, colour #000000, Apply again but change -3 to +3
6.Open up your Dangling_Stars copy and paste as new layer resize 60%,Apply drop shadow H-3, V-3, O50, B10, colour #000000, Apply again but change -3 to +3
7.Open up your Floral_Decoration Copy and paste as new layer resize 60% Duplicates Image Flip Merge Duplicates Image Mirror merge down
Duplicate layer and send to bottom Adjust – Blur – Gaussian – 15 Apply Tramages – Tow the Line Control-0:80,Control-1:54 Control-2:48 Control-3:9
Go back to top frame layer again,Alien Skin Eye Candy 5 – Nature – Snow Drift Width – 6,Under settings select – Dusting Moderate
8.Open up your Tube copy and paste as new layer resize 70%,Apply drop shadow H-3, V-3, O50, B10, colour #000000, Apply again but change -3 to +3
~*~*~Open animation~*~*~
Open up Animation Shop
Edit/Paste/As New Animation
Back in AS.
Edit/Paste/After Current Frame.
Back in PSP.
Close out S2.
Open up S3.
Copy Merge
Back in AS.
Edit/Paste/After Current Frame.
Back in PSP.
Close out S3.
Open up S4.
Copy Merge
Back in AS.
Edit/Paste/After Current Frame.
Back in PSP.
Close out S4.
Open up S5.
Copy Merge
Back in AS.
Edit/Paste/After Current Frame.
Back in PSP.
Close out S5.
Open up S6.
Copy Merge
Back in AS.
Edit/Paste/After Current Frame.
Back in PSP.
Close out S6.
Open up S7.
Copy Merge
Back in AS.
Edit/Paste/After Current Frame.
Back in PSP.
Close out S7.
Open up S8.
Copy Merge
Back in AS.
Edit/Paste/After Current Frame.
Back in PSP.
Close out S8.
Open up S9.
Copy Merge
Back in AS.
Edit/Paste/After Current Frame.
Back in PSP.
Close out S9.
Open up S10.
Copy Merge
Back in AS.
Edit/Paste/After Current Frame.